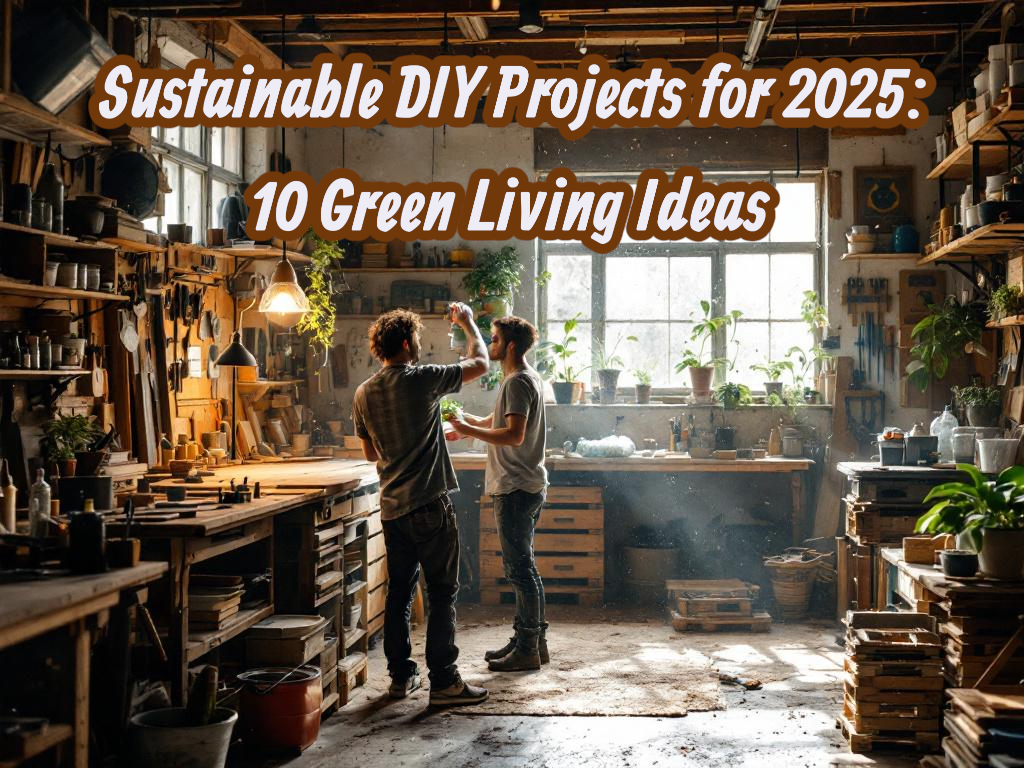
Have you ever looked at an old wooden pallet or a collection of glass jars and seen a world of possibility? If so, you’re tapping into the heart of sustainable DIY. This creative movement is all about transforming everyday items into something new and useful, reducing waste, and making our homes a little greener. As we look toward 2025, the push for more sustainable living is stronger than ever, and do-it-yourself projects offer a tangible, rewarding way to participate.
This guide is your starting point for a journey into eco-friendly crafting. We’ll explore ten creative and practical sustainable DIY projects that you can start today. From building your own furniture to making natural cleaning products, these ideas are designed to help you live a more environmentally conscious life. Get ready to unleash your creativity, learn new skills, and make a positive impact on the planet, one project at a time.
Why Choose Sustainable DIY?
Embracing sustainable DIY projects is more than just a hobby; it’s a lifestyle choice with far-reaching benefits. By choosing to create and upcycle, you contribute to a healthier planet, save money, and gain a sense of personal accomplishment. Let’s look at the advantages.
- Environmental Benefits: The most significant advantage is the positive impact on the environment. Upcycling projects give a second life to materials that would otherwise end up in landfills, reducing the demand for new resources and cutting down on pollution. Making your own products, like cleaners or food wraps, also helps you avoid single-use plastics and harmful chemicals often found in commercial goods. These small actions collectively contribute to a larger movement of resource conservation.
- Economical Savings: Green living doesn’t have to be expensive. In fact, sustainable DIY can be incredibly budget-friendly. By using materials you already have or can find for free, you significantly reduce your spending. Crafting your own furniture, decor, and household essentials often costs a fraction of what you would pay for store-bought equivalents. Over time, these savings add up, making sustainable living an economically smart choice.
- Personal Fulfillment: There’s a unique satisfaction that comes from creating something with your own hands. These projects allow you to express your creativity, learn practical skills, and customize items to perfectly fit your style and needs. Completing a project provides a sense of pride and accomplishment, connecting you more deeply to the items in your home and the sustainable values you hold.
1. Upcycled Pallet Furniture
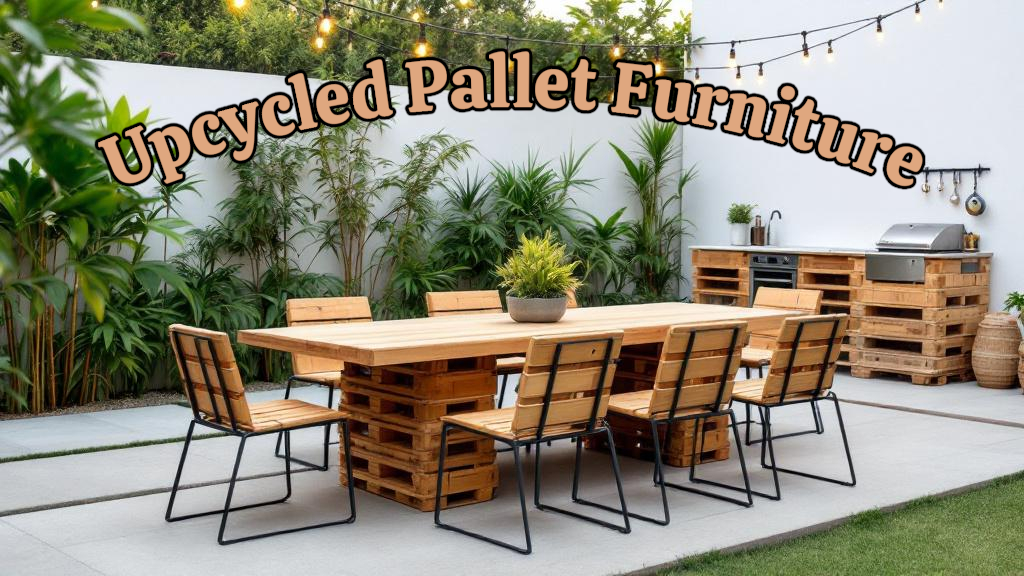
Wooden pallets are often discarded after a single use, but they are a goldmine for DIY enthusiasts. Their sturdy structure makes them perfect for creating rustic and functional furniture. With a bit of sanding, sealing, and imagination, you can build everything from a coffee table to a garden bench.
Materials You’ll Need:
- Heat-treated (HT) wooden pallets (avoid MB, or methyl bromide, treated pallets)
- Sandpaper or a power sander
- Eco-friendly wood sealant or paint
- Screws and a drill
- Saw (optional, for custom sizes)
- Caster wheels or furniture legs (optional)
Step-by-Step Guide:
- Find and Clean Your Pallets: Source heat-treated pallets from local businesses or online marketplaces. Thoroughly scrub them with soap and water and let them dry completely.
- Sand It Down: Sand all surfaces to remove splinters and create a smooth finish. This is crucial for safety and achieving a polished look.
- Design and Assemble: For a simple coffee table, you can stack two pallets and screw them together. For a bench, you might stand one pallet on its side for the backrest and use another for the seat. Get creative with your design!
- Seal or Paint: Apply a coat of non-toxic, eco-friendly sealant or paint to protect the wood and add a touch of personal style. This step also makes the furniture more durable, especially if it will be used outdoors.
- Add Finishing Touches: Attach caster wheels for mobility or sturdy legs for elevation. You can also add custom-cut cushions for extra comfort.
2. Homemade Cleaning Products
Conventional cleaning products often contain harsh chemicals that can harm both your health and the environment. Creating your own cleaners using simple, natural ingredients is one of the easiest eco-friendly crafts you can undertake. They are effective, safe, and incredibly inexpensive.
All-Purpose Cleaner Recipe:
- 1 part white vinegar
- 1 part water
- A few drops of essential oil (like lemon, lavender, or tea tree for scent and antibacterial properties)
- A spray bottle
How to Make It:
Simply mix all the ingredients in a reusable spray bottle and shake well. This solution works wonders on countertops, sinks, and windows. For tougher grease, add a teaspoon of natural dish soap to the mix. You’ll have a powerful, non-toxic cleaner ready for any mess.
3. Vertical Garden from Recycled Materials
Don’t have a backyard? No problem. A vertical garden is a brilliant solution for growing herbs, flowers, or even small vegetables in limited spaces. You can build one using recycled materials like plastic bottles, tin cans, or old wooden ladders. This is one of the most rewarding upcycling projects, as it brings nature into your home.
Materials You’ll Need:
- Plastic bottles or tin cans
- Scissors or a utility knife
- Twine or wire
- Potting soil
- Seeds or seedlings
Step-by-Step Guide:
- Prepare Your Containers: Clean the plastic bottles or cans. If using bottles, cut an opening on the side large enough for planting.
- Create Drainage: Drill or poke small holes in the bottom of each container to allow for water drainage.
- Assemble the Structure: Use strong twine or wire to hang the containers in a vertical line from a wall, fence, or balcony railing.
- Plant Your Greens: Fill each container with potting soil and plant your chosen herbs or flowers.
- Water and Enjoy: Water your plants regularly and watch your vertical garden flourish.
4. DIY Solar Charger
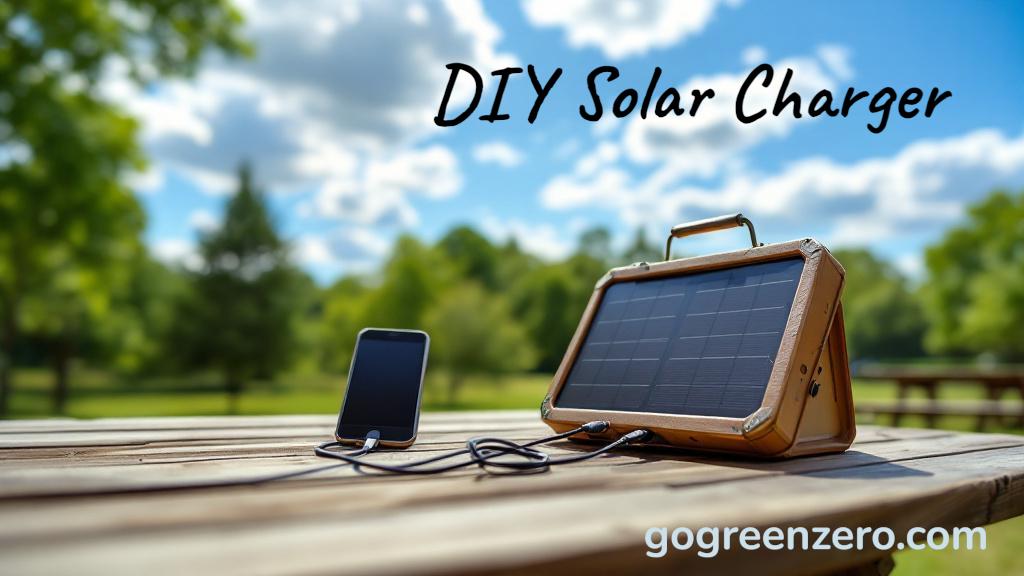
Harness the power of the sun to charge your small electronic devices. Building a DIY solar charger is a fantastic project for anyone interested in renewable energy. While it requires a bit more technical skill, the result is a practical tool that reduces your reliance on grid electricity.
Materials You’ll Need:
- A small solar panel (5-6V)
- A USB charging circuit
- A rechargeable battery pack (optional, to store power)
- Wires and a soldering iron
- A protective case (an old mint tin works well)
Step-by-Step Guide:
- Connect the Circuit: Solder the wires from the solar panel to the input of the USB charging circuit.
- Add a Battery (Optional): If you want to store solar energy, connect the battery pack to the designated terminals on the circuit board.
- Mount in a Case: Secure all the components inside your protective case, ensuring the solar panel faces outward. Cut a hole for the USB port.
- Charge It Up: Place your new solar charger in direct sunlight. The panel will begin converting sunlight into electricity, ready to power your phone or other small gadgets.
5. Reusable Beeswax Food Wraps
Say goodbye to plastic wrap for good! Reusable beeswax food wraps are a natural, breathable alternative for keeping food fresh. They are easy to make, can be used for months, and are fully compostable at the end of their life.
Materials You’ll Need:
- Cotton fabric scraps (100% cotton works best)
- Beeswax pellets or grated beeswax
- Jojoba oil (optional, for flexibility)
- Pine resin (optional, for extra stickiness)
- Parchment paper
- An iron or oven
Step-by-Step Guide:
- Prepare Your Fabric: Cut your cotton fabric into desired sizes (squares work well for covering bowls).
- Sprinkle the Ingredients: Lay a piece of fabric on a sheet of parchment paper. Evenly sprinkle the beeswax pellets, a few drops of jojoba oil, and a pinch of pine resin over the fabric.
- Melt and Spread: Cover with another sheet of parchment paper and press with a hot iron until the wax is fully melted and absorbed. Alternatively, you can place it in an oven set to a low temperature (around 200°F or 93°C) for a few minutes.
- Cool and Use: Carefully peel the wrap off the parchment paper while it’s still warm and let it air dry. Your wrap is now ready to cover bowls, wrap sandwiches, or store produce.
6. Composting System for Beginners
Composting is the ultimate recycling project. It transforms kitchen scraps and yard waste into nutrient-rich soil for your garden. You don’t need a large yard to start; even a small balcony bin can work.
Simple Bin Method:
- Choose a Bin: Use a large plastic container with a lid. Drill holes in the sides and bottom for aeration and drainage.
- Layer Your Materials: Start with a layer of “browns” (dried leaves, twigs, cardboard) at the bottom. Then, add a layer of “greens” (fruit and vegetable scraps, coffee grounds).
- Maintain the Pile: Continue layering browns and greens in a 2:1 ratio. Keep the pile moist but not soggy. Turn it with a shovel or pitchfork every week or two to aerate it.
- Harvest Your Compost: In a few months, you’ll have dark, crumbly compost ready to enrich your garden soil.
7. DIY Water Filter
Ensure you have access to clean drinking water with a simple, homemade filter. This project is excellent for camping trips or as a backup for emergencies. It uses natural materials to remove sediment and impurities from water.
Materials You’ll Need:
- A large plastic bottle
- Gravel, sand, and activated charcoal
- Cotton balls or a piece of cloth
Step-by-Step Guide:
- Prepare the Bottle: Cut the bottom off the plastic bottle and place it upside down in a cup or jar.
- Layer the Filter: Place a layer of cotton balls or cloth at the neck of the bottle. Then, add layers in this order: activated charcoal, fine sand, coarse sand, and finally, gravel.
- Filter the Water: Pour water slowly through the top. It will pass through the layers, which trap impurities. Note: This filter removes sediment, but it’s still recommended to boil the water before drinking to kill any pathogens.
8. Fabric Scrap Quilt
Don’t throw away old clothes or fabric remnants. Turn them into a beautiful and cozy fabric scrap quilt. This project is a wonderful way to preserve memories associated with old textiles while creating a functional piece of art for your home.
How to Get Started:
- Gather Your Scraps: Collect fabric from old t-shirts, jeans, dresses, and any other textiles you have.
- Cut into Squares: Decide on a uniform size and cut all your fabric scraps into squares.
- Sew the Rows: Arrange the squares in a pattern you like and sew them together into long rows.
- Assemble the Quilt: Sew the rows together to form the quilt top.
- Finish It: Add a layer of batting and a backing fabric, then quilt through all three layers to secure them. Bind the edges to complete your masterpiece.
9. Energy-Efficient Window Coverings
Reduce your heating and cooling costs by making your own insulated curtains. These window coverings help keep your home warmer in the winter and cooler in the summer by preventing heat transfer through the windows.
What You’ll Need:
- Decorative fabric for the front
- Insulated lining (like fleece or thermal fabric)
- A sewing machine and thread
Simple Steps:
- Measure and Cut: Measure your window and cut both the decorative fabric and the insulated lining to size, adding extra for seams.
- Sew Together: Place the two fabrics with their right sides facing each other and sew around the edges, leaving a small opening to turn it right-side out.
- Turn and Press: Turn the curtain right-side out through the opening, press it flat with an iron, and sew the opening closed.
- Hang It Up: Add a rod pocket or curtain rings, and hang your new energy-efficient curtains.
10. Repurposed Candle Holders
Give old glass jars, wine bottles, or tin cans a new purpose as stylish candle holders. This is one of the simplest upcycling ideas, yet it can add a warm and inviting ambiance to any room.
Quick Ideas:
- Glass Jars: Clean out old jam or pasta sauce jars. You can paint them, wrap them in twine, or fill the bottom with sand or coffee beans before placing a tea light inside.
- Wine Bottles: Carefully cut the bottom off a wine bottle (there are many tutorials online for doing this safely) to create an elegant hurricane lamp for a taper candle.
- Tin Cans: Clean the cans and punch patterns into the sides using a hammer and nail. When you place a candle inside, the light will shine through the holes, creating beautiful patterns.
Embrace Your Creativity for a Greener Future

Sustainable living is a journey of small, intentional choices that add up to a significant impact. These ten sustainable DIY projects for 2025 offer a starting point for anyone looking to reduce their environmental footprint while adding a personal touch to their home. Each project is an opportunity to learn, create, and contribute to a more sustainable world.
So, pick a project that excites you, gather your materials, and get started. The satisfaction of creating something beautiful and useful from what was once considered waste is immense. Let your creativity guide you as you explore the world of green living ideas and eco-friendly crafts.